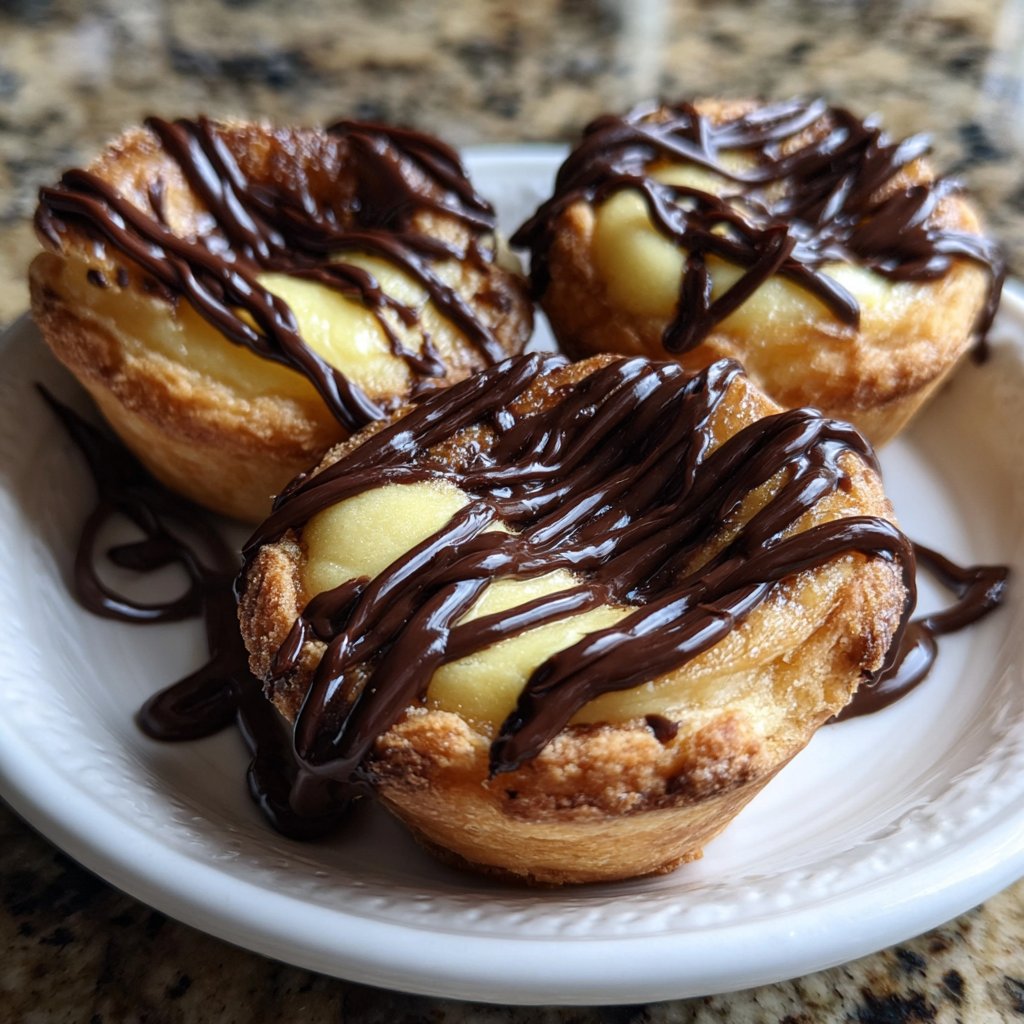
Mini Chocolate Cream Tarts
Highlighted under: Sweet Shop | Homemade Candy
I absolutely adore these Mini Chocolate Cream Tarts because they offer the perfect balance of decadence and lightness. The creamy chocolate filling is both rich and satisfying, while the tart crust provides a delightful contrast. Whether it's a special occasion or simply a treat for myself, these tarts never disappoint. I love how easy they are to whip up, especially when I'm in the mood to impress without spending hours in the kitchen. Trust me, your friends and family will be begging for seconds!
When I first made these Mini Chocolate Cream Tarts, I was amazed at how the flavors melded together so beautifully. The first bite transports you to a creamy chocolate heaven. To get the filling just right, I learned the trick of tempering the chocolate properly, which enhances the overall texture and flavor. I recommend using high-quality chocolate for the best results.
Additionally, I experimented with different crust options and found that a buttery shortcrust pastry strikes the perfect balance, providing the ideal support for the rich chocolate. These tarts are not only a treat for the taste buds but also a stunning addition to any dessert table!
Why You'll Love These Tarts
- Irresistibly creamy chocolate filling that satisfies cravings
- Delicately crisp crust provides a delightful crunch
- Perfectly portioned mini sizes for guilt-free indulgence
Understanding the Crust
The tart crust is crucial for achieving that delightful contrast in texture with the creamy chocolate filling. Using chilled, unsalted butter is key, as it helps create a flaky texture. Be cautious not to overwork the dough; mix until just combined to avoid a tough crust. If you find the dough too crumbly, adding a little more ice water, one teaspoon at a time, can help bring it together.
Ensure to prick the crust with a fork before baking to prevent puffing. You want it to hold its shape and support the filling without getting soggy. A visual cue to look for is a light golden color after baking, which typically takes around 15 minutes at 350°F (175°C). Letting the baked shells cool completely is vital for holding the filling without leaking.
Perfecting the Chocolate Cream Filling
The chocolate filling is what truly elevates these tarts. When heating the cream, keep a close eye; it should be just below a simmer. If it boils, it can lead to a grainy texture in the filling. Once you've added the chocolate, stir until it becomes glossy and smooth. This is a good moment to taste; if you prefer a sweeter filling, consider adding a tablespoon of additional sugar after incorporating the chocolate.
Using high-quality dark chocolate significantly enhances the flavor profile of the filling. Aim for a chocolate with at least 60% cacao. If you have dietary restrictions, you can substitute dairy-free chocolate and coconut cream, which will still yield a rich and satisfying filling. Remember to whisk in the egg yolks slowly to temper them with the warm chocolate mixture, preventing them from scrambling.
Ingredients
Gather the following ingredients before you start:
For the Tart Crust
- 1 1/4 cups all-purpose flour
- 1/2 cup unsalted butter, chilled and cubed
- 1/4 cup powdered sugar
- 1/4 teaspoon salt
- 1 egg yolk
- 2-3 tablespoons ice water
For the Chocolate Cream Filling
- 8 ounces dark chocolate, chopped
- 1 cup heavy cream
- 1/4 cup granulated sugar
- 1 teaspoon vanilla extract
- 2 egg yolks
For Garnish
- Whipped cream
- Chocolate shavings
- Fresh fruit (optional)
Make sure all your ingredients are fresh for the best results!
Instructions
Follow these steps carefully to make your tarts:
Prepare the Tart Crust
In a bowl, mix the flour, powdered sugar, and salt. Cut in the butter until the mixture resembles coarse crumbs. Stir in the egg yolk and ice water until the dough forms. Wrap in plastic and refrigerate for 30 minutes.
Bake the Tart Shells
Preheat the oven to 350°F (175°C). Roll out the dough and cut into circles to fit your tart pans. Press the dough into the pans and prick with a fork. Bake for 15 minutes until golden. Let cool.
Make the Chocolate Cream Filling
In a saucepan, heat the cream until just simmering. Remove from heat and add the chopped chocolate, stirring until melted. In a bowl, whisk together sugar and egg yolks, then slowly whisk in the chocolate mixture. Add vanilla and mix well.
Fill the Tart Shells
Pour the chocolate cream filling into the cooled tart shells. Refrigerate for at least 2 hours to set.
Garnish and Serve
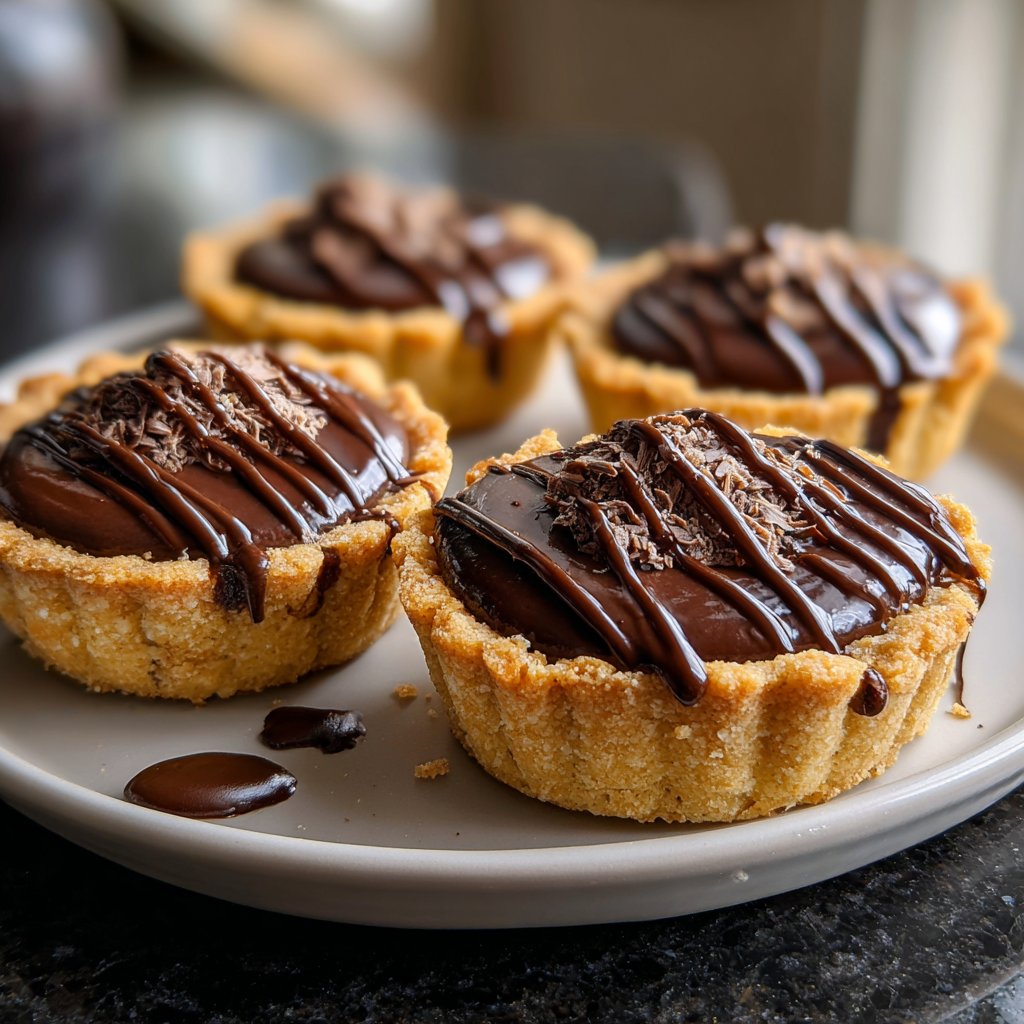
Top with whipped cream, chocolate shavings, or fresh fruit before serving for an extra touch of elegance.
Enjoy your delicious creations with family and friends!
Pro Tips
- For an extra layer of flavor, you can add a splash of coffee or a hint of orange zest to the chocolate filling.
Garnishing Ideas
Garnishes can transform these Mini Chocolate Cream Tarts into a stunning dessert. I recommend using freshly whipped cream for its lightness, as it perfectly complements the richness of the chocolate. To make whipped cream, use chilled heavy cream and whip until soft peaks form—this should take about 3-4 minutes with an electric mixer on medium speed.
Chocolate shavings can be easily made by running a vegetable peeler along the edge of a chocolate bar. This gives an elegant touch and a lovely contrast in textures. If you'd like to add a fresh element, consider topping with seasonal fruits like raspberries or strawberries. Their bright acidity cuts through the richness, balancing each bite beautifully.
Storing and Making Ahead
These tarts store well, making them a great make-ahead dessert. After filling the tart shells, cover them tightly with plastic wrap and refrigerate. They will be at their best if eaten within three days, but they'll hold up for up to a week. Just ensure they're kept chilled to maintain the filling's texture.
If you want to make the tart crust in advance, you can freeze the unbaked shells. After shaping the dough into tart shells, wrap them tightly in plastic. They can be frozen for up to two months. To bake from frozen, there’s no need to thaw; simply add a couple of extra minutes to the baking time for a perfectly crispy crust.
Questions About Recipes
→ Can I use milk chocolate instead of dark chocolate?
Yes, but the flavor will be sweeter and less intense.
→ How can I make the crust gluten-free?
You can substitute all-purpose flour with a gluten-free flour blend.
→ How long can I keep the tarts in the fridge?
They should be consumed within 3-4 days for the best texture and flavor.
→ Can I freeze these tarts?
Yes, but it's best to freeze them before adding the cream topping. Thaw them in the fridge before serving.
Mini Chocolate Cream Tarts
Created by: The Chefwaynebakes Team
Recipe Type: Sweet Shop | Homemade Candy
Skill Level: Intermediate
Final Quantity: 12 tarts
What You'll Need
For the Tart Crust
- 1 1/4 cups all-purpose flour
- 1/2 cup unsalted butter, chilled and cubed
- 1/4 cup powdered sugar
- 1/4 teaspoon salt
- 1 egg yolk
- 2-3 tablespoons ice water
For the Chocolate Cream Filling
- 8 ounces dark chocolate, chopped
- 1 cup heavy cream
- 1/4 cup granulated sugar
- 1 teaspoon vanilla extract
- 2 egg yolks
For Garnish
- Whipped cream
- Chocolate shavings
- Fresh fruit (optional)
How-To Steps
In a bowl, mix the flour, powdered sugar, and salt. Cut in the butter until the mixture resembles coarse crumbs. Stir in the egg yolk and ice water until the dough forms. Wrap in plastic and refrigerate for 30 minutes.
Preheat the oven to 350°F (175°C). Roll out the dough and cut into circles to fit your tart pans. Press the dough into the pans and prick with a fork. Bake for 15 minutes until golden. Let cool.
In a saucepan, heat the cream until just simmering. Remove from heat and add the chopped chocolate, stirring until melted. In a bowl, whisk together sugar and egg yolks, then slowly whisk in the chocolate mixture. Add vanilla and mix well.
Pour the chocolate cream filling into the cooled tart shells. Refrigerate for at least 2 hours to set.
Top with whipped cream, chocolate shavings, or fresh fruit before serving for an extra touch of elegance.
Extra Tips
- For an extra layer of flavor, you can add a splash of coffee or a hint of orange zest to the chocolate filling.
Nutritional Breakdown (Per Serving)
- Calories: 220 kcal
- Total Fat: 15g
- Saturated Fat: 9g
- Cholesterol: 150mg
- Sodium: 25mg
- Total Carbohydrates: 22g
- Dietary Fiber: 1g
- Sugars: 10g
- Protein: 3g